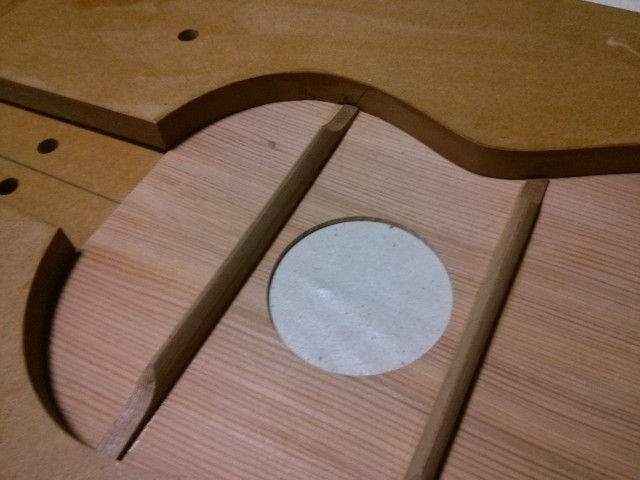
表板に付ける力木を加工する。この木も倉庫に眠っていたレッドシダーを切り出して製作。上側の2つは5mmx10mm、下側のものは5mmx5mmの角材をかんな、紙やすりで削って形を整え接着する。力木には少しRを付けておく。
![IMG_20131019_192739](https://craft.moon-forest.com/wp-content/uploads/sites/2/2013/10/IMG_20131019_192739.jpg)
![IMG_20131019_194556](https://craft.moon-forest.com/wp-content/uploads/sites/2/2013/10/IMG_20131019_194556.jpg)
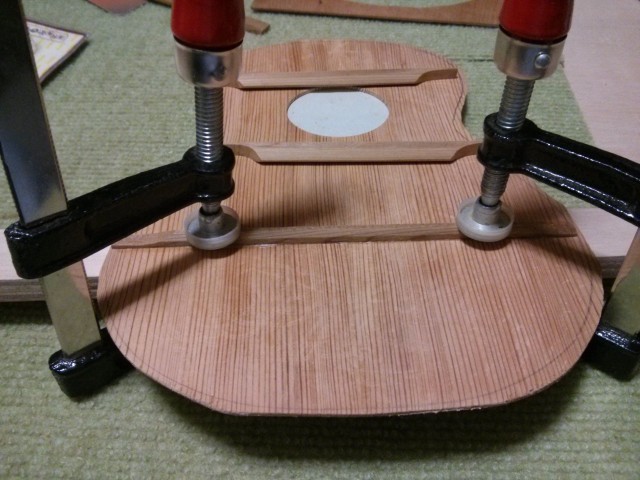
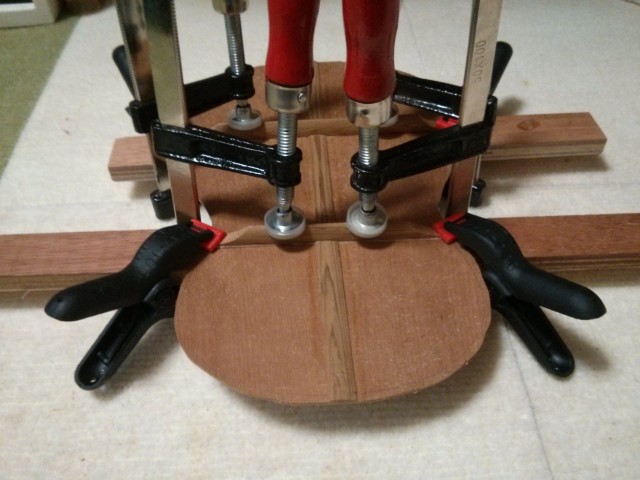
接着剤が乾いたら型に入れて余分な部分に印を付け、削り取る。
![IMG_20131020_090724](https://craft.moon-forest.com/wp-content/uploads/sites/2/2013/10/IMG_20131020_090724.jpg)
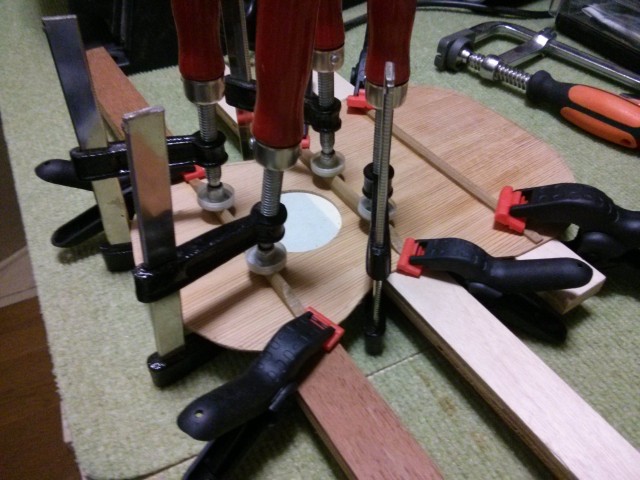
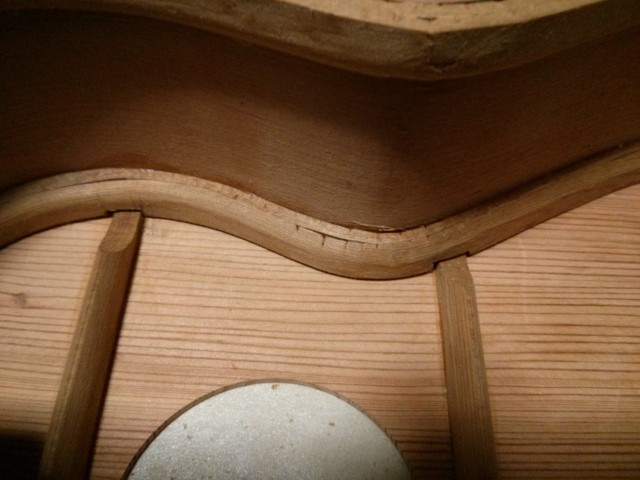
側板を型に入れて力木の位置をライニング側に印を付ける。
![IMG_20131020_092918](https://craft.moon-forest.com/wp-content/uploads/sites/2/2013/10/IMG_20131020_092918.jpg)
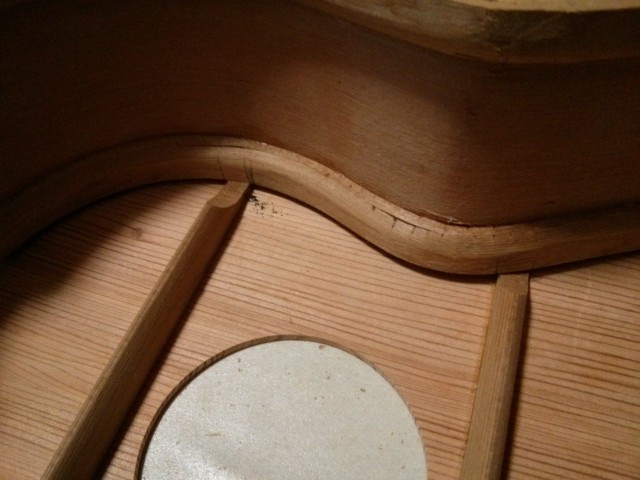
表板が隙間なく側板に合わさるようにライニングを削る。
![IMG_20131020_181649](https://craft.moon-forest.com/wp-content/uploads/sites/2/2013/10/IMG_20131020_181649.jpg)
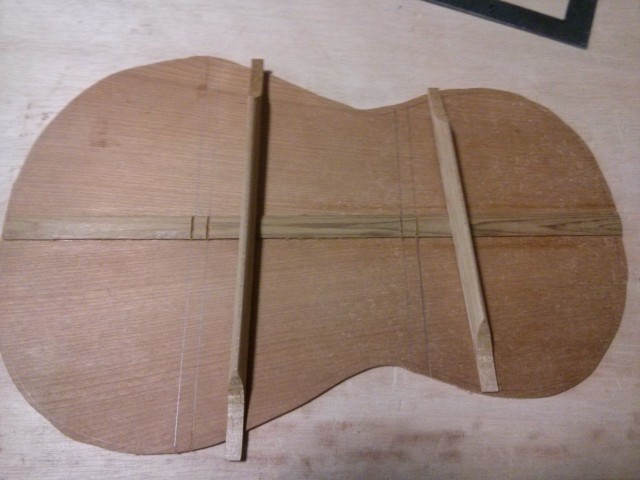
裏板に付ける力木を加工する。5mmx10mmの角材をかんな、紙やすりで削って形を整え、接着する部分のセンターパッチを削り取る。
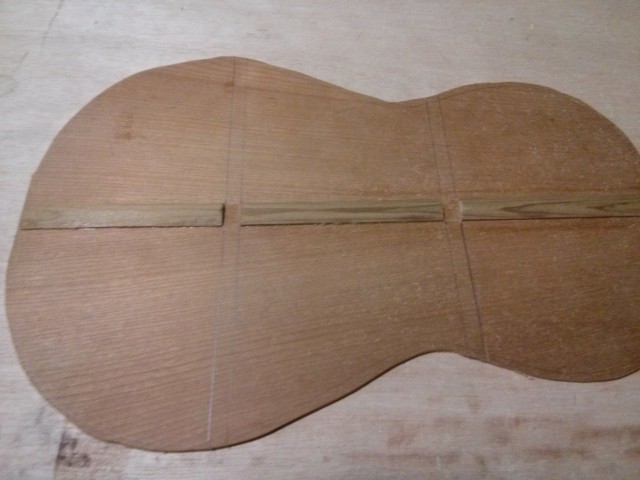
![IMG_20131020_154636](https://craft.moon-forest.com/wp-content/uploads/sites/2/2013/10/IMG_20131020_154636.jpg)
![IMG_20131020_155816](https://craft.moon-forest.com/wp-content/uploads/sites/2/2013/10/IMG_20131020_155816.jpg)
表板と同様に接着する。
![IMG_20131020_161139](https://craft.moon-forest.com/wp-content/uploads/sites/2/2013/10/IMG_20131020_161139.jpg)
コメントを残す